
Introduction
Thinking about how to install laminate flooring? Laminate flooring is a fantastic solution! It’s affordable, durable, and offers endless design options to fit your home’s style. Whether you’re tackling a home renovation project or simply refreshing a room, laminate flooring gives you a sleek, modern look without the hefty price tag.
Have you ever considered installing laminate flooring yourself, or are you planning to give it a try for the first time? If yes, this laminate flooring installation guide will walk you through each step. Ready to get started? Let’s dive in!
What You Need Before You Start Installing Laminate Flooring
Tools and Materials Needed
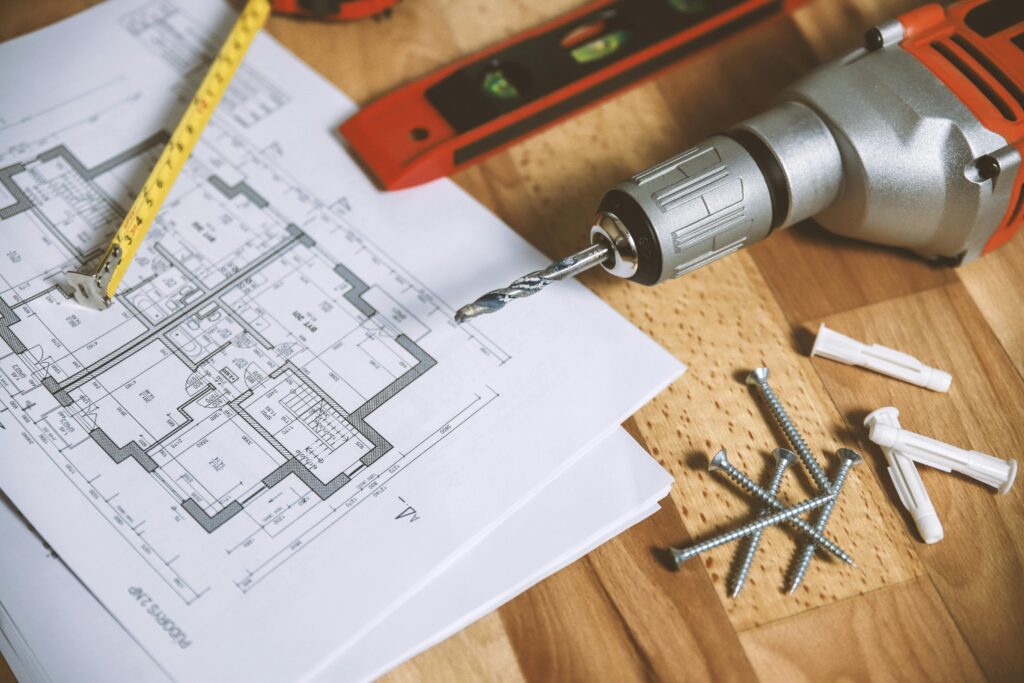
Before you dive into your laminate flooring project, make sure you have the following tools and materials on hand. Here’s a quick checklist to make sure you’re ready to go:
| Tools & Materials | Purpose |
| Tape Measure | For precise room measurements |
| Circular Saw or Handsaw | For cutting the laminate planks to size |
| Hammer & Tapping Block | For securing the planks together |
| Spacers | To leave the necessary expansion gap around edges |
| Underlayment | Provides cushioning and reduces noise |
| Laminate Planks | The main material for your flooring installation |
It’s essential to choose high-quality laminate flooring to ensure durability and a polished finish. You don’t want to skimp on materials!
Do you already have some of these tools, or will you need to buy a few? Let me know in the comments below—I’d love to hear what you’ve got in your toolkit!
Preparing the Room for Laminate Flooring Installation
Clear the Space & Check Subfloor Condition
Before starting your laminate flooring installation, make sure the space is completely clear of furniture, old flooring, and debris. If you’re replacing old flooring, take the time to remove it carefully.
Next, check the subfloor for any imperfections. It needs to be flat, dry, and smooth. If you spot any issues, like moisture or uneven spots, fix them before proceeding.
Also, acclimate the laminate planks by letting them sit in the room for at least 48 hours. This helps them adjust to the room temperature and moisture levels, preventing future expansion or contraction.
Have you encountered any challenges preparing your room? Feel free to share in the comments below—I’d love to hear your experiences!
How to Install Laminate Flooring – Step-by-Step
Step 1: Lay the Underlayment
Underlayment is a must-have, as it provides a smoother surface, reduces noise, and protects the laminate from moisture. Unroll the underlayment across the floor, making sure the edges meet without overlapping. This ensures a stable foundation for your laminate planks.
Why is underlayment so important? Without it, your laminate flooring could squeak, shift, or be more prone to damage over time. Trust me, it’s worth the extra step!
Step 2: Measure and Cut the Laminate Planks
Start by measuring the room to determine how many planks you’ll need for each row. Use a circular saw or handsaw to cut the laminate planks to the correct size.
Remember: measure twice, cut once! Accuracy here is key to ensuring your planks fit perfectly.
Step 3: Start Laying the Planks
When you start the first row, ensure the planks click-lock together properly. Most laminate flooring uses a click-lock installation system, which means you can simply snap the pieces together without the need for glue.
Be sure to leave a small expansion gap (about 1/4 inch) between the planks and the walls to allow for natural expansion due to temperature and humidity changes.
Step 4: Cutting for the Final Row and Doorways
When you get to the last row, you’ll likely need to cut the planks to fit. Measure the remaining space and cut the planks to the correct width. Don’t forget about doorways—you might need to trim planks to fit around door frames.
It can be tricky, but a good saw and careful measuring will make this step much easier!
Step 5: Finishing Touches
Once all the planks are laid, it’s time for the finishing touches. Install transition strips where the laminate meets different flooring types or doorways. Finish off with baseboards to give the room a clean, polished look.
Afterward, clean up the space, and voilà! You’ve got beautiful new laminate flooring.
Common Mistakes to Avoid When Installing Laminate Flooring
Even seasoned DIYers make mistakes. Here are a few common ones and tips on how to avoid them:
| Mistake | How to Avoid It |
| Not leaving an expansion gap | Always leave a 1/4 inch gap around walls and obstacles. |
| Incorrect cutting | Use a quality saw, measure carefully, and make small adjustments. |
| Improper underlayment installation | Ensure the underlayment is smooth and laid without gaps. |
These mistakes can be easily avoided if you take your time, measure correctly, and follow the steps closely. Have you made any of these mistakes in the past, or do you have tips for preventing them? Share your thoughts in the comments!
How to Maintain and Care for Your Laminate Flooring
Your job isn’t finished once the floor is installed—maintenance is key to keeping your laminate floors looking great for years to come. Here are some tips:
| Care Tip | How It Helps |
| Regular sweeping/vacuuming | Removes dirt and debris, preventing scratches. |
| Avoid excess water | Wipe up spills promptly to avoid water damage. |
| Use furniture pads | Prevents scratches from heavy furniture. |
For cleaning, use a damp mop (not soaking wet) and avoid harsh chemicals that could damage the finish.
How do you maintain your laminate floors? Let me know in the comments below—I’d love to hear your cleaning tips!
Conclusion
You’ve now got a complete DIY laminate flooring installation guide to follow! By taking the right steps and using the proper tools, you can transform any room in your home with gorgeous new flooring.
Ready to get started? If you have any questions or want to share your experience, leave a comment below. I’d love to hear about your project!
FAQ Section
What is the easiest way to install laminate flooring?
The easiest method is using click-lock planks. They click together seamlessly and don’t require glue—perfect for beginners.
Can I install laminate flooring on uneven floors?
You can install laminate over slightly uneven floors, but large gaps or bumps should be smoothed out using a self-leveling compound before installation.
How long does it take to install laminate flooring?
The time it takes depends on room size and experience. For a small to medium room, it could take a day or two.
Have you tried installing laminate flooring before, or are you thinking about giving it a go? Share your experiences, tips, or questions in the comments section below. And don’t forget to check out these helpful tools and products to kickstart your project!